
0. General design guidelines
0.1 Color scheme

0.2 Fonts & Font Colors
Used font is “Noto Sans Regular“.
0.2.1 Description of Font Colors
We distinguish between two views: on the one hand the main menu and on the other hand the unfolded virtual keyboard
0.2.2 Font Colors Main Menu

0.2.3 Font Colors Virtual Keyboard & Data Fields

0.3 Characteristics of Fields & Buttons
0.3.1 General guideline
All fields and buttons have rounded corners with a radius of 8px. They are flat without any effects. Hover effects and deactivated buttons are distinguished by color effects.
0.3.2 Data Fields & Radio Buttons
Data Field and Radio Buttons have a white background and a 1px outline (Color # 55697f).
0.3.3 Background Color & Button-Status
Buttons can be present in 3 states:
1. Normal Button (Color # 00a1dd)
2. Pressed Button (Main Menu Color # 004a99; Virtual Keyboard Color #ffffff)
3. Disabled Button (Color # 55697f)

1. Splashscreen with Loading-Circle

2. Select Language (only at first start)

3. Select between “Search existing users”, “create a new user” or select “Setting-Button” for other options
Right side shows pressed button “New User”. The active setting button (bottom right) leads to a new mask “Settings” in which e.g. the language settings, or other system settings (sound on/off, system-ID#, Import/Export DB, etc.) can be performed.

4. Main Menu bottom

Normal Button Sound: FUSION_main-menu-able.wav
Disabled Button Sound: FUSION_attention.wav
5. Virtual Keyboard
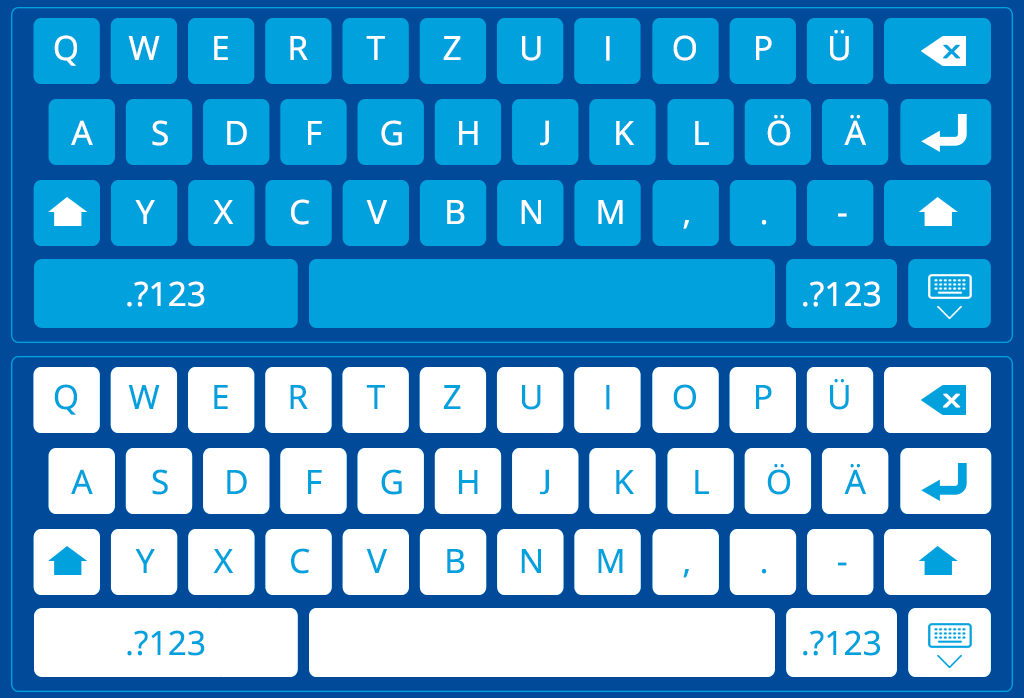
For a better overview, the following figures show the keyboard with normal keys (background #00a1dd) in the upper area and the keyboard with pressed keys (background #ffffff) in the lower area. Sound effect for clicking buttons on the keyboard is the same everywhere.
The keyboard always opens when you press your finger into a data field and close if press the button “close keyboard”. Push your finger in a data field makes a special sound:
Sound that always sounds when you touched a finger in a data field.
FUSION_touch-in-datafield.wav
5.1 Virtual Keyboard (letters)
5.2 Virtual Keyboard (Numeric)

5.3 Virtual Keyboard (Special characters)

6. Search for existing User
To search for an existing user, click with your finger in the top field “Type name”. The keyboard goes up and you can enter the name you are looking for. As soon as the first letters are typed, a selection list with names corresponding to the search selection appears in the lower data field. Touching on the desired name takes over the desired user and you switch to the mask “Selection Trainings / Tests”.
On the right side there is a scroll bar that moves the selection list up or down.
The Home Button takes you back to (3.) Select between “Search existing users”, “create a new user”.

7. Create new User and Selection Trainings/Tests
The user can access this mask via the “Create a new User” option (Mask 3.) or via the “Search existing users” mask (Mask 6.) In the latter option, the data fields are already filled in with user data.
Note and for discussion: The field “Sex” should not contain a preselection and should not be mandatory. So we can make it possible for a discussion currently ongoing in Europe to introduce a third sex (transsexual). The selection of no gender would then mean synonymous to the selection transsexual.

8. Manual mode / Initials settings
Changing the setting values is done by the arrow up or down arrow keys. Any changes that affect the training time are displayed in the upper right corner of the Training Duration box. In this field, a distinction is made between the total duration (time calculated from the length of the cycles of phase 1 and 2) on the right and the pure hypoxia duration displayed in the field on the left.

9. Hardware Preparation
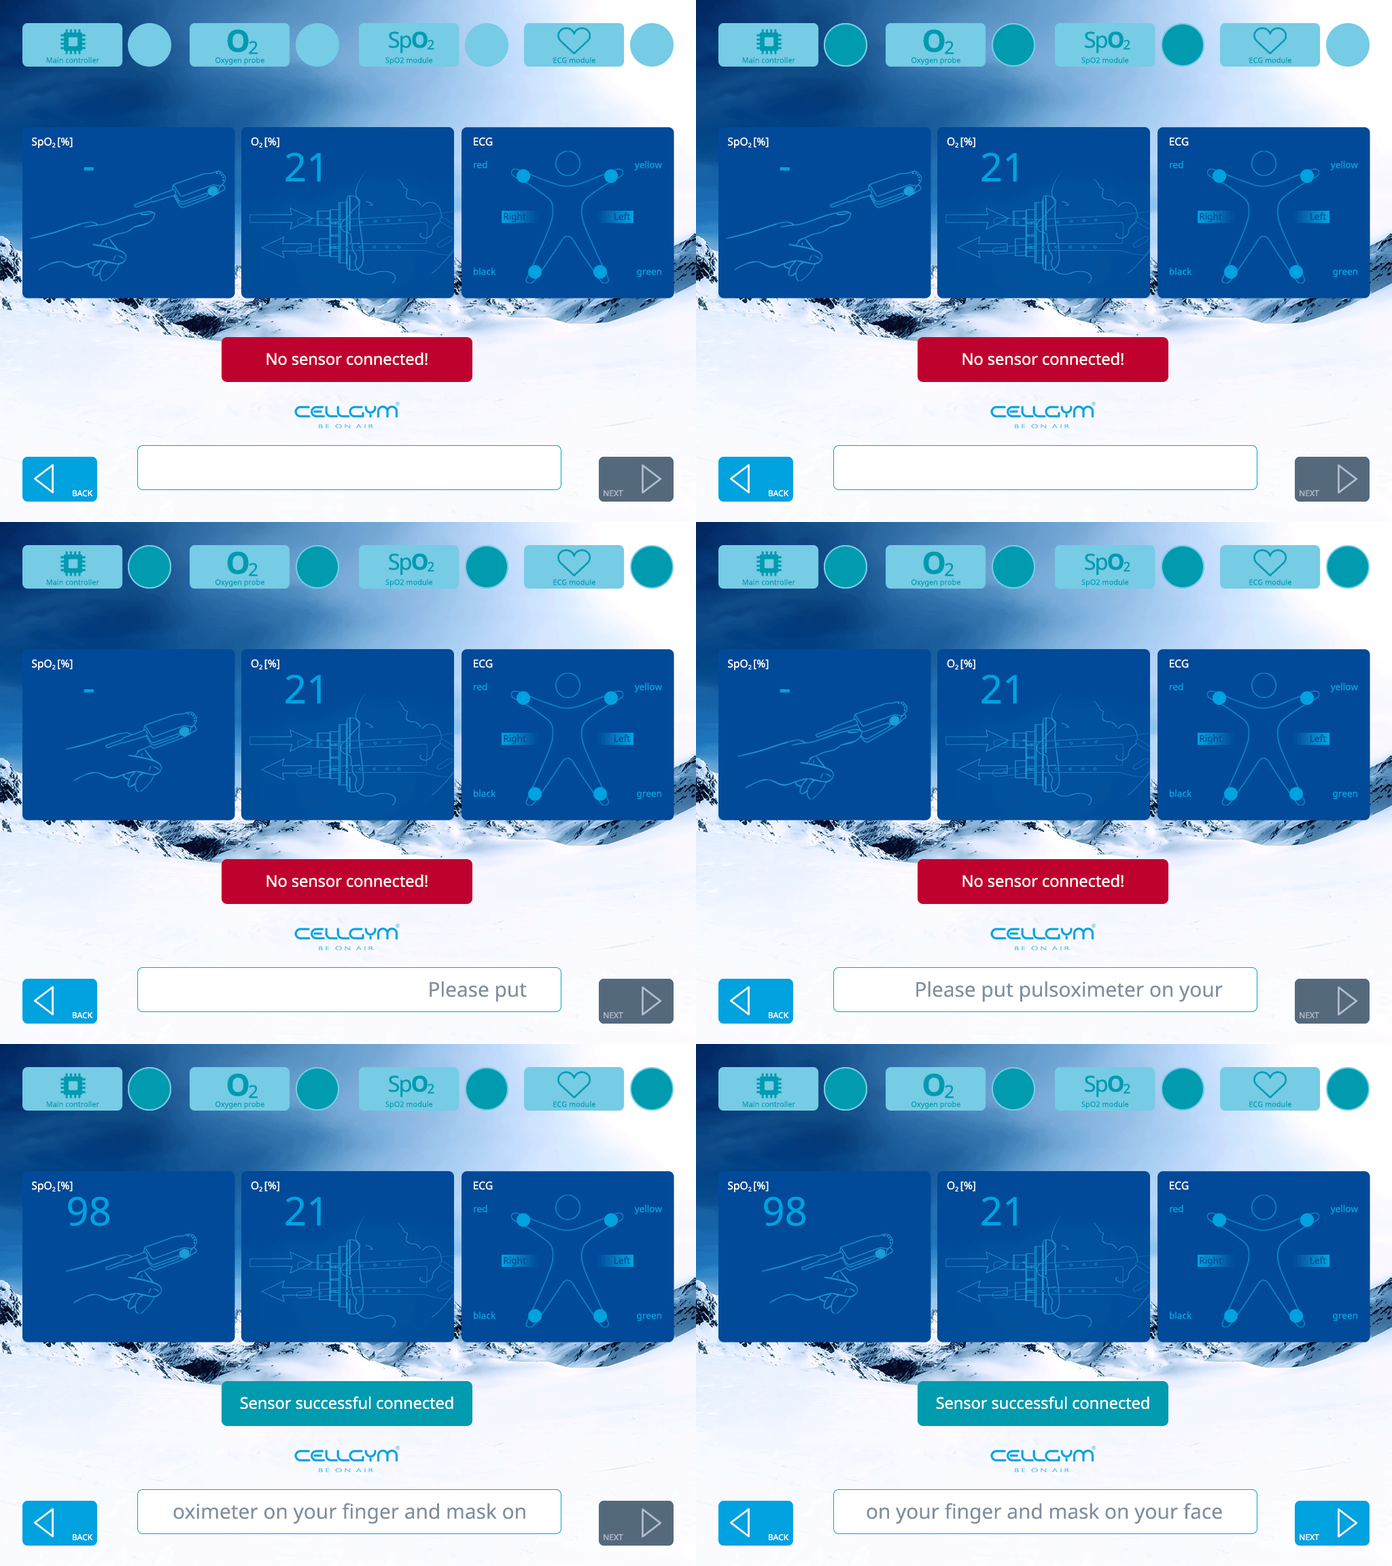
If you change from “Initial Settings” to the mask “Hardware Preparation” a device self test starts. The top row shows the result of the self-test. If the button is red, there is a malfunction – with a green display everything is ok.
At the same time, the window on the left side visualizes the placement of the pulse oximeter on the finger. Underneath a red notification button shows that the sensor has no connection. As soon as the sensor is in contact, the advisory button changes to green and signals that the sensor is successfully connected. The measured SpO2 value is then displayed in the illustration window.
The window in the middle shows the correct fit of the breathing mask and the current oxygen level.
The window on the right side shows the ECG and the connection of each ECG electrode (except for black RA). Malfunction is highlighted in red.
The user can go to the next mask with the button “Next” and starts the trainings-session by pressing the button. The NEXT-Button is disabled as long as hardware preparation successful finished.
With the button “Back” the user gets back to the mask “Initial Settings”.
9.1 Hardware Preparation with ECG
9.2 Hardware Preparation without ECG

10. Training Session


PUSHED Buttons
10.1 Popups to change, cancel and confirm values

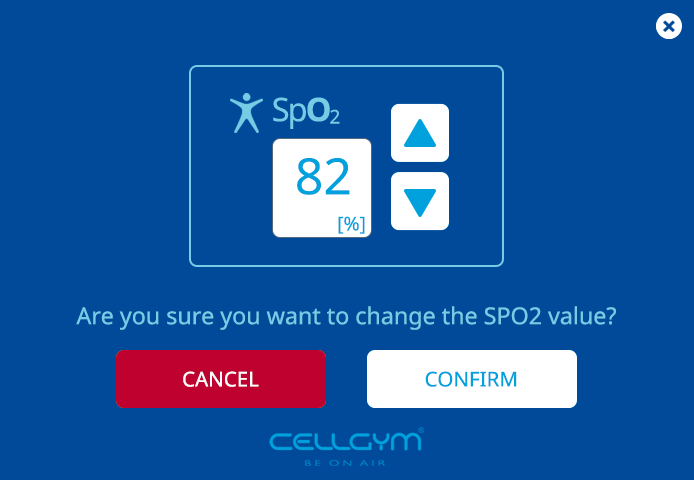
Popup for changing SpO2 value
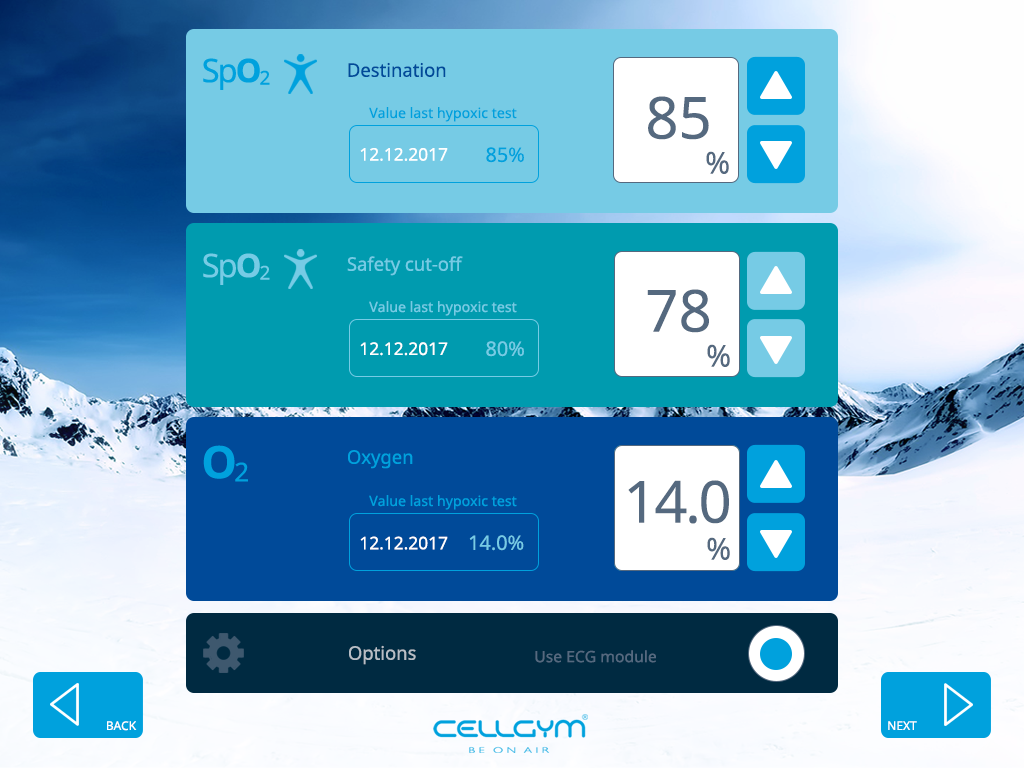
11. Hypoxic test / Initial settings
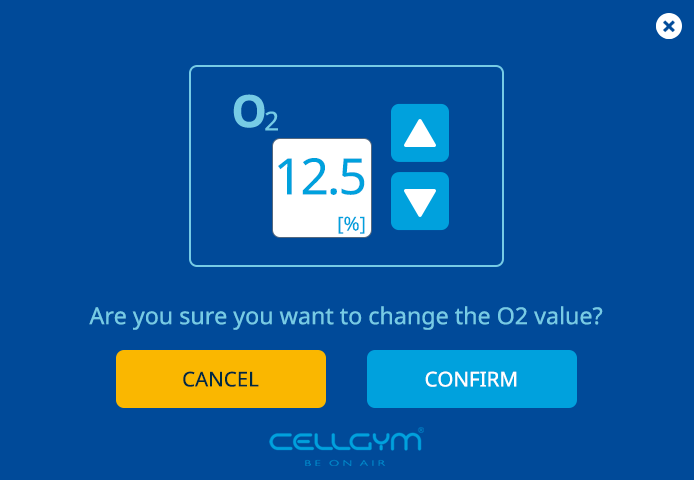
11.1 Popup Determination of O2 Concentration

11.2 Relaxation Phase
After the hypoxic test, a pop-up window opens automatically and it launches a 3-minute relaxation phase.
In the middle, a timer is displayed showing the expiration of the 3 minutes. To the left is the system’s O2 value and to the right is the user’s current SpO2. The user can cancel the relaxation phase at any time with the button “End Relaxation Phase”. This closes the pop-up window and leads directly to the new mask “Conclusion”.
Even if the user has completed the 3-minute relaxation phase, he is automatically guided to the “Conclusion” mask.

12. Conclusion
12.1 Conclusion after Hypoxic Test

12.2 Conclusion after Training (Manual & Biofeedback)

12.3 Conclusion after “Abortion by Operator”


